

Introduction to Node.js

I am a software professional specialising in web development and generative AI. I enjoy sharing knowledge and learning from the community. I offer consulting services and speak at events, seminars, and workshops.
Introduction
Welcome to the Node.js learning series. This series will walk you through from basics to advanced concepts of Node.js. I will try my best to explain the concepts more simpler. Without further ado let us jump into the sea of Node.js.
Node.js is a very popular backend javascript runtime environment. Back in time, there were only a few languages like Java, Python, Php, etc. that helped build a backend to do all complex tasks. The developers needed to learn multiple tech stacks to build the front and backend of an application. This became hard and the developer groups were segregated into frontend engineers and backend engineers. The rise of Node.js was the first big step toward full-stack web development. It gave rise to a plethora of full-stack developers who can code both frontend and backend in one single language i.e Javascript.
Javascript
Javascript is the blood of Node.js. Javascript knowledge must be required even before continuing with Node.js. If you are a newcomer, bookmark this post for future reference and continue learning javascript. Some important concepts that are needed to better understand Node.js.
- Objects
- Functions
- Classes
- Asynchronous
- Callbacks
- Arrow Functions
- Promises
- Async/Await
Hop on to the next topic if you are good with the topics listed above.
Node.js Basics
Node.js can be installed on any platform (Windows, macOS, Linux). The steps to install and different download formats are available on the official page of node.js. Make sure you have installed the setup correctly and always install the latest stable version of the node.js. NPM gets installed along with node.js installation. We can discuss NPM in upcoming topics. Check your node and npm versions after the installations are complete.
node --version
npm --version
You are now ready to hack and let's start with the scripting. It is very boring to learn the concepts if you don't connect the dots. Hence we will learn the concepts by building a simple app. Our mission is to build a library application.
Open a suitable IDE of your choice. I prefer Visual Studio Code and I have been using it as my default editor for web development. Open a folder and create a javascript file and name it of your choice filename.js. It can be of any name but in general, the standard practice for naming the main file would be app.js, server.js, and index.js. I am naming it server.js. Open your file and start with writing the first line.
Any programming language will have the first line with import statements. Similar is the case with node.js. It is not necessary that you should always have imports but commonly to use the inbuilt standard packages you may need to require the libraries to use them. For our online library, we need a server to get requests from clients, solve their queries and respond. Feel free to know more about client-server architecture and how the web works. In some frameworks like Php one may need to spin a separate web server and attach it to the main program but in the case of node.js everything is offered in one plate.
Built-in Modules
Node.js has got this built-in HTTP library that handles server creation. To import a module or package, use require and pass the module/package name. Since we need the HTTP package, we will import with require('http'). The imported package can then be assigned to a constant for local use. It can also be assigned to a variable but it is prudent that we are not going to alter the package and that's why it is assigned to a constant.
const http = require('http')
Built-in modules help us to interact with the operating system, file system, networking, I/O operation, and a bunch of other kinds of stuff. There are different built-in modules apart from HTTP. You can read more about it on the official documentation page. Here is an example of writing content to a file.
const fs = require('fs')

fs.writeFileSync('file.txt', 'Hello, welcome to online library')

console.log('Completed writing to file')
The above snippet shows how to import the file system module. It has different methods out of which we use writeFileSync to write content to a file and create it on run-time. The word sync in writeFileSync has to be kept in mind as we move further we will get to know about synchronous and asynchronous operations in node.js.
Create Server
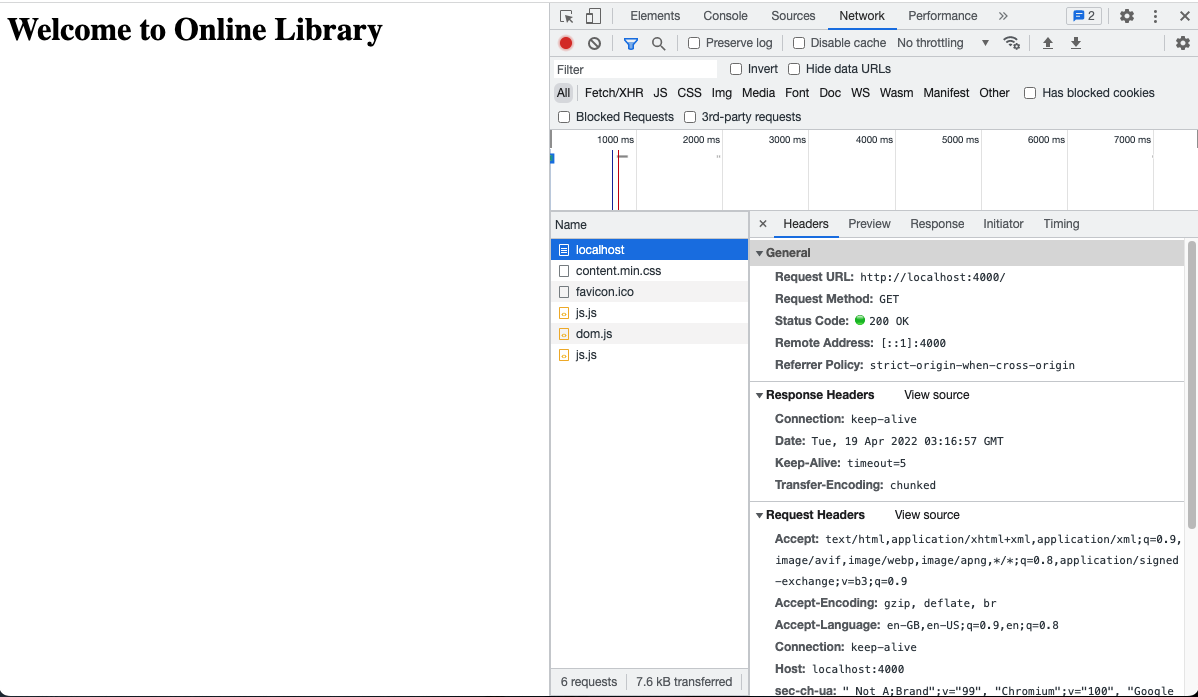
Let us now create a server in your local machine that can be accessed through localhost. We have already imported the HTTP module and now we will use one of its methods createServer which accepts requestListener as an input argument and returns a server. requestListener is a function that accepts two arguments 'request' and 'response' denoted as 'req' and 'res'. The requestListener function will be called whenever there is an HTTP request. The request can be received and served by making the server listen. The listen method will facilitate this by getting the inputs like hostname, port, etc. The server can also respond with headers like HTTP status codes which denote if the request has succeeded or not. Also, one can return an HTML output as a response when a specific request is made in the URL. For example, whenever there is a request to the root http://localhost:4000/, it can be pointed to a landing page/ home page with a welcome message. Once the response has been served to the client, it has to be ended, else it will keep on staying in the event loop waiting for other requests. In short, you will see the page keep on loading.
#server.js

const http = require('http')

const server = http.createServer((req, res) => {
  res.statusCode = 200
  res.write('<h1>Welcome to Online Library</h1>')
  res.end()
})

server.listen(4000)
Routing Requests
Requests can be served depending on the type of request received. Imagine a post office segregating the mail based on addresses. Likewise, a request can be routed based on the URL. Let us redo our server.js file to make it less clumsy and add a new file routes.js to define the routes. It is simple to have a single route defined for a test application but in reality, even a simple application would serve multiple requests. We will separate the requestListener from server.js and define all the routes in routes.js file.
In the routes.js, we are going to define two routes for our online library. The root path / will act as a landing page and the /books will show the list of books in our library.
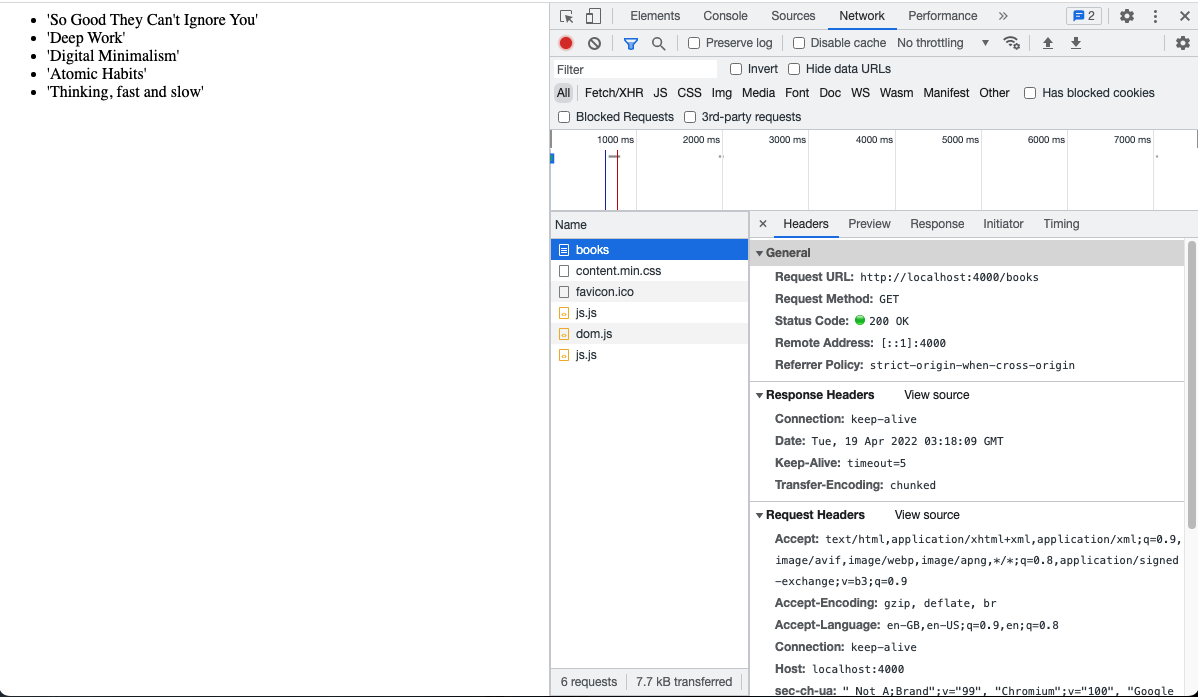
We will abstract the requestListener function in server.js and define it in routes.js. The requestListener function will be exported from routes.js and this module can be imported like any other module in server.js. We will assign the function to reqHandler and export the module using module.exports. Inside the requestListener function let us define the routes to be handled. We will create a simple if condition to switch between routes based on the request URL. The request returns a pile of data as a JSON object. You can have a look by printing the request in the console console.log(req). We are more interested in categorizing based on the URL. The request can be parsed by getting the value of URL. req.url will return the URL (http://localhost:4000/) that was requested by the client. We will grab the URL and compare it with our logic to route it. In the case of the root path, it is straightforward where we just return a response with an HTTP status code of 200 and a welcome message in the HTML body. If the URL has /books then we need to populate it with a list of books which is done using the <li> tag in our HTML response.
#routes.js

const reqHandler = (req, res) => {
  const url = req.url
  const method = req.method
  if (url === '/') {
    res.statusCode = 200
    res.write('<html><head><title>Library</title></head><body><h1>Welcome to Online Library</h1></body></html>')
    return res.end()
  } else if (url === '/books') {
    res.statusCode = 200
    res.write(
      "<html><head><title>List of Books</title></head><body><ul><li>'So Good They Can't Ignore You'</li><li>'Deep Work'</li><li>'Digital Minimalism'</li><li>'Atomic Habits'</li><li>'Thinking, fast and slow'</li></ul></body></html>"
    )
    return res.end()
  }
}

module.exports = reqHandler
We will now import the requestListener function in the server.js file by importing the routes.js. The imported routes module is now passed as an input to the createServer function which is nothing but the requestListener function that we created on the routes.js file.
#server.js

const http = require('http')
const routes = require('./routes')
const server = http.createServer(routes)
server.listen(4000)
Once everything is connected, you will see the following output on your browser.
http://localhost:4000/
http://localhost:4000/books
I hope this post will help you quickly set up a node server. There are other concepts like blocking/non-blocking, asynchronous, callbacks, etc which are more important when you write I/O intensive operations. Node.js primarily does asynchronous execution to avoid waiting for a single request to resolve. It will serve whenever a new request is received and resumes back to the previous request using a callback to resolve whenever it is ready. Get a good hold of these concepts by reading through the official documentation of node.js. You can find below some useful links to delve more into these topics.


